
Christmas wrapping that doesn’t cost the earth
Every year, tonnes of shiny wrapping is torn up and thrown away, so our elves have been researching some crafty ways to ways to reduce this waste. Here are a few fun suggestions for presenting our own products this Christmas.
Bobble Hat Bottle Toppers
If you wrap up a bottle it is often obvious what you are giving, and a glittery gift bag can be reused but is hard to recycle. There are some fantastic brands out there with beautiful artwork, so why not celebrate that and just pop on a bobble-hat bottle topper and a gift tag. They can also double up as a cute tree decoration or place marker for your table.

What do I need?
- Wool: Any colour or thickness, but double-knit works well.
- Scissors
- Toilet roll tube
- Ruler
How to craft:
Step 1: Cut your cardboard tube at 2cm depth, so you have a circle to form the band of your bobble hat.
Step 2: Cut lengths of wool at roughly 25cm long. Cut enough strands to cover the circumference of the roll.
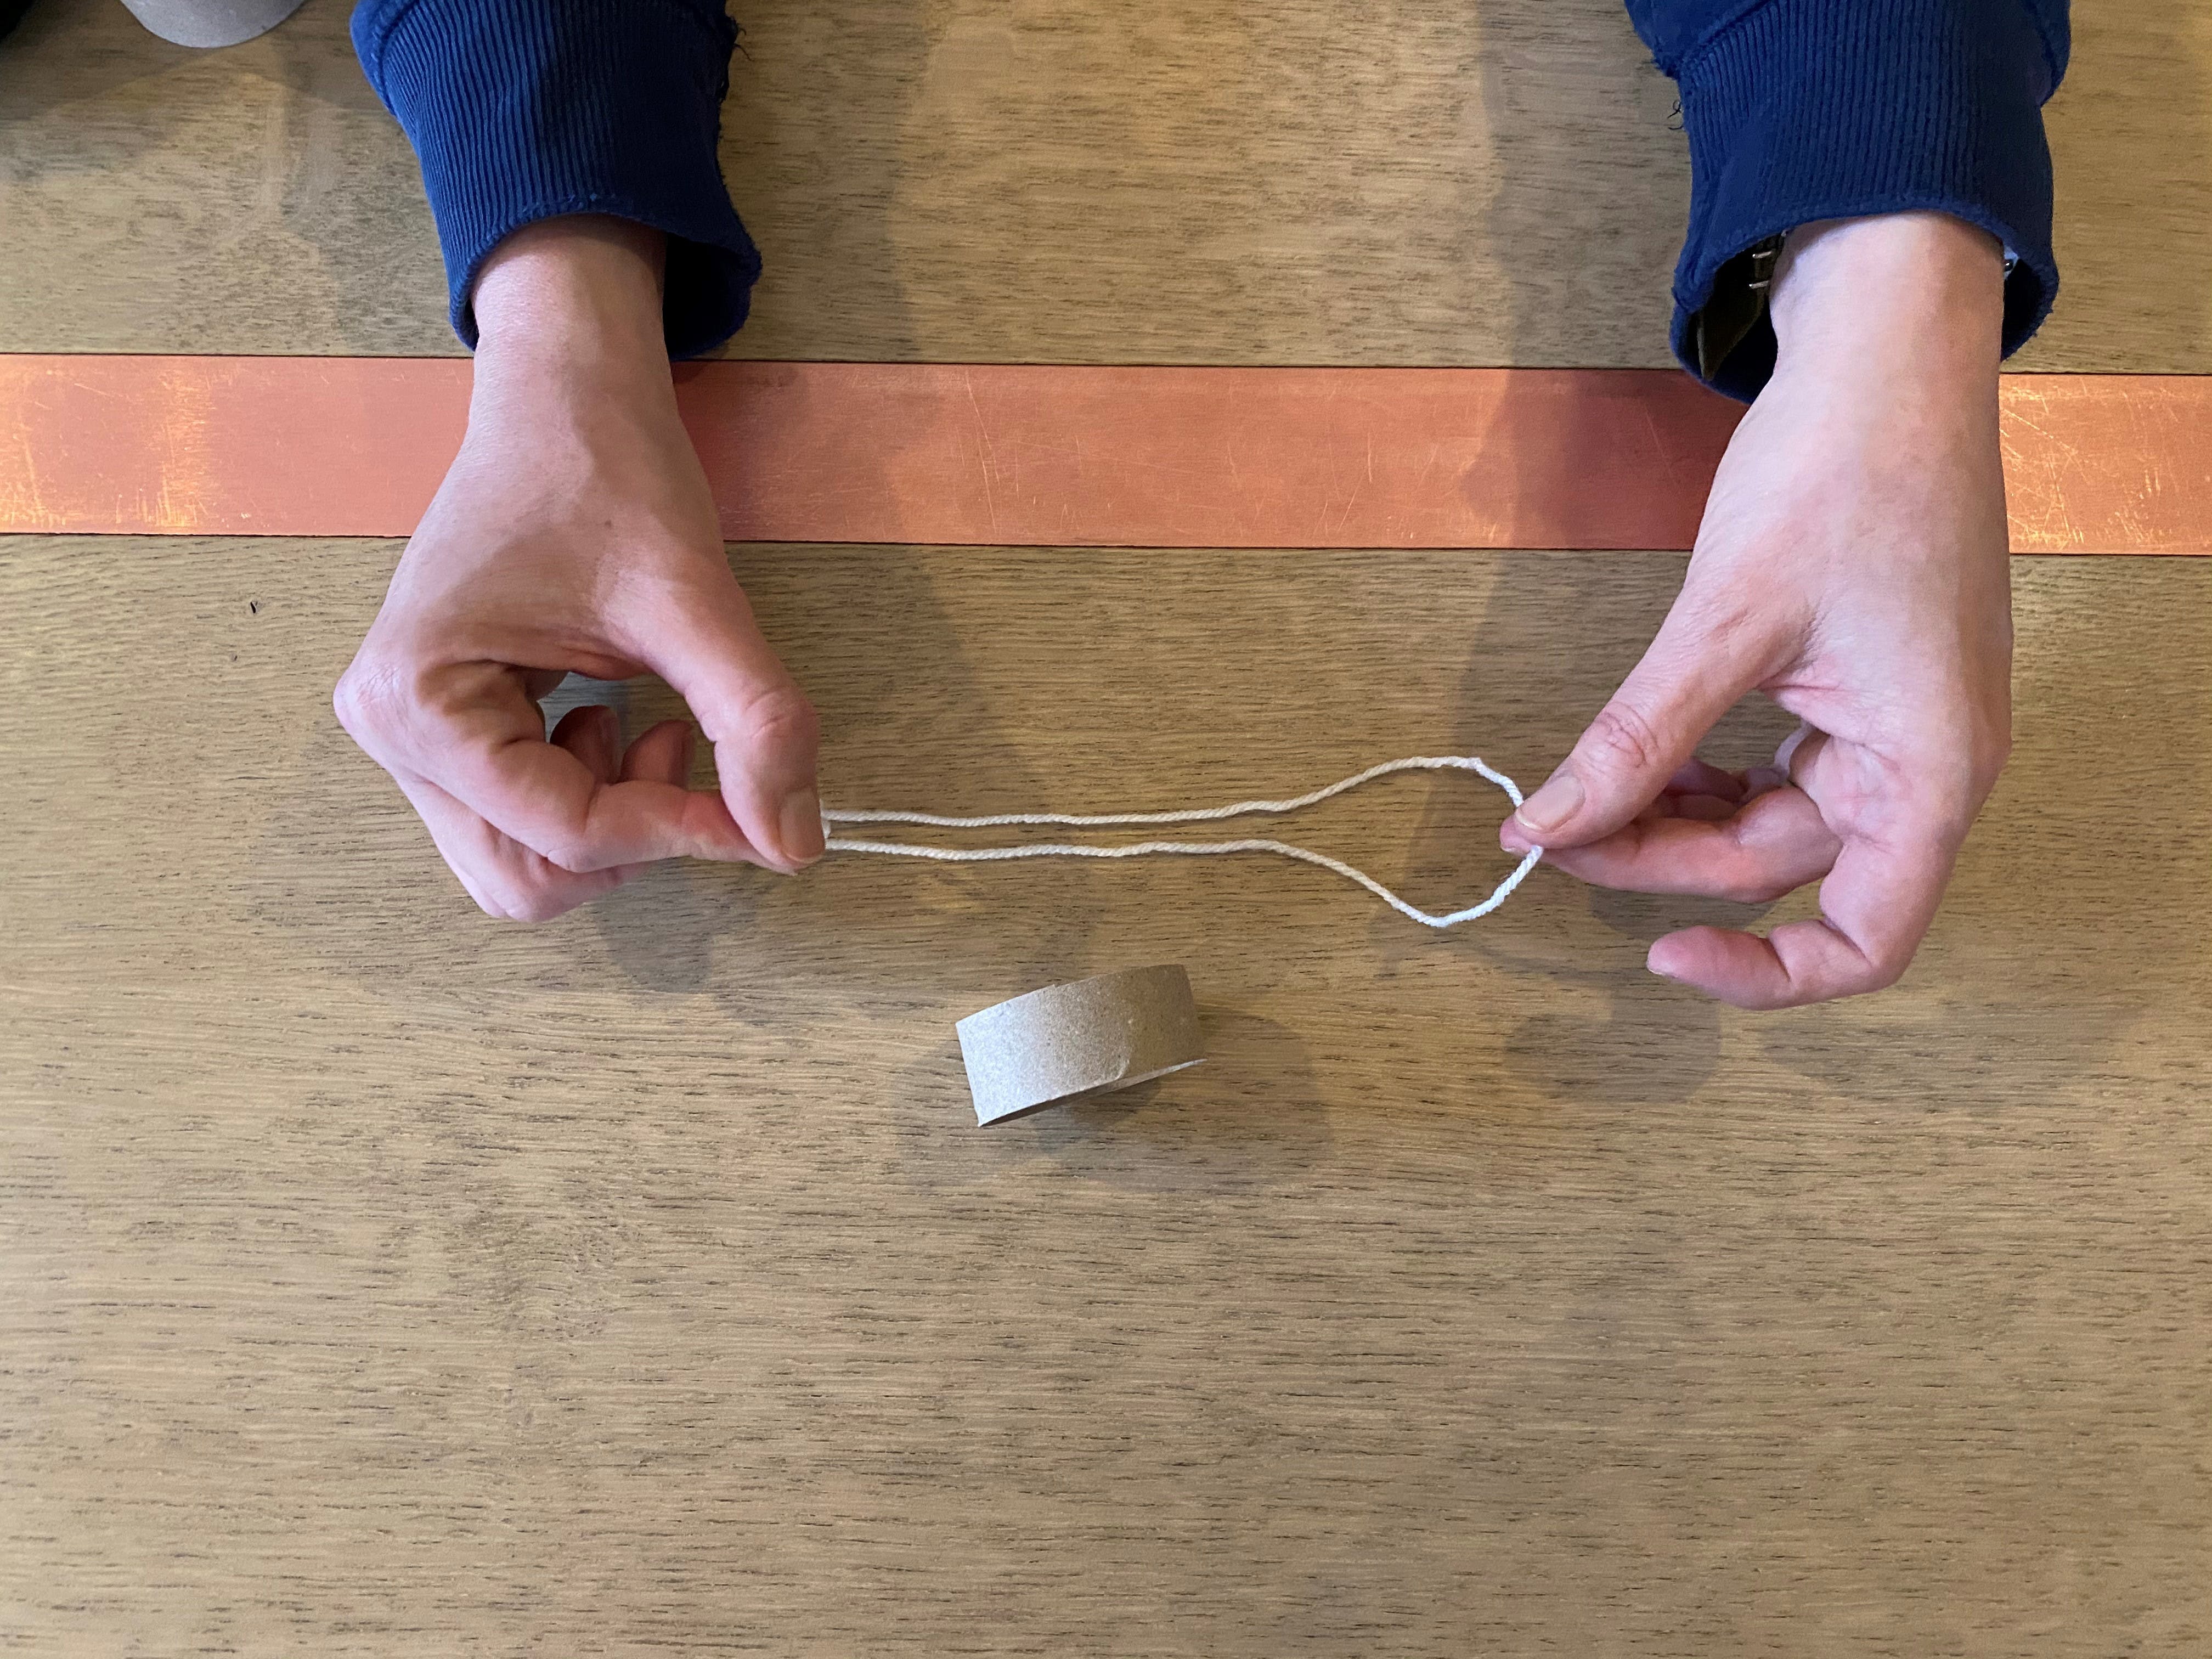
Step 3: To attach each piece of wool to the band, fold it in half to form a loop, then pass it through the centre of you carboard band - loop end first. Bend the two loose ends of wool backwards over the band and feed them through the loop. Pull tight to secure. Repeat in your preferred colour combination until you’ve covered the whole band.

Step 4: Gather all your pieces together and thread them all backwards through the band.

Step 5: Cut a length of wool and tie all the loose threads together about 1.5 inches from your band, to form the body of your bobble hat Tie tightly and cut away the excess, leaving about an inch of loose wool that forms your bobble. Trim to neaten.

Design tip: Match them to your wrapping scheme, chose colours found in your gift or think of their favourite team!
Folded paper gift boxes:
Reuse old posters or paper to make a gift box. They can look really smart and show off your crafty side. Have a practice on some rough paper first, then you will have a guide. Watch our tutorial below to find out more:
What do I need?
- 2 square pieces of sturdy paper. Why not use an old poster or wallpaper?
- Pencil
- Ruler
- Scissors
- Glue (optional)
How to craft:
Step 1: Cut out your paper squares. Make both squares the same size. As a guide, a 12” x 12” square gives you a 4” box.
Step 2: Mark a cross on the back of your two pieces of paper to find the centre point. Draw a diagonal line corner to corner.
Step 3: Make a diamond. Taking each corner, fold the paper into the centre and repeat until all points meet at the centre.
Step 4: Rotate the diamond 45 degrees so it is a square, then fold the top edge down to the centre where all the corners meet and smooth the crease. Then fold the bottom edge up to meet it in the middle. Turn your paper, open it and repeat with the remaining two sides. You will see that you have marked a smaller square out in the creases. These are the edges of your box
Step 5: Turn your paper into a rectangle by unfolding the folds from Step 4, and fold back the top and bottom triangles from the centre, leaving just the left, and right-hand triangles from Step 1 in position. Your paper now resembles a rectangle with points at each end.
Step 6: Ensure your earlier creases are strong by folding each side to the centre and pressing and then lift both your sides back up, so they stand upright and look like the sides of a box. Supporting both sides, lift the pointed end up so it starts to form a third side. Pinch the corners in at the sides following lines from previous folds.
Step 7: Bending the top triangle over and fold the pointed end down into the base of your box. Repeat this process for the last remaining side and complete the base of your box.
Step 8: Repeat the whole process to form your lid. Your lid needs to be slight larger than your base. To do this, when carrying out Step 4, do not fold the sides directly into the centre where the corners meet. Leave a slight gap about half a centimetre gap from the centre line each time and your lid will be larger on each side by that amount, so it will then end up slightly wider.
Furoshiki Wrapped Double Bottle
Furoshiki are traditional Japanese wrapping cloths, used to transport gifts or other goods. We have found a novel way of presenting two beer bottles together using this technique. If you make the wrap part of the package, there is no waste and they get an extra little gift. We've used an Adnams t-towel but it would work equally well with a scarf or piece of rectangular fabric. Watch our tutorial below to find out more.
What do I need?
- A rectangular piece of fabric large enough to fit two bottles on end to end as detailed below. A t-towel, scarf, t-shirt or similar item.
- Ribbon or string for tying.
- Elastic band for extra security if your fabric is stiff (optional).
How to craft:
Step 1: Measure your fabric ensuring there is enough to wrap two bottles end-to-end with a gap of approximately X between bottle bases and X left over at each end above the bottle neck.
Step 2: Lay out your fabric reverse-side up. Lie your two beer bottles end-to-end along one edge, with an m gap between them. It the opposite side is rough, fold it over slightly, so your finished edge will be neat.
Step 3: Pull the fabric up and over both bottles and start to them roll towards you, forming a long tube with the fabric.
Step 4: When all the fabric is rolled, ensure your final edge is central (so it will end up hidden in the join when you stand your bottles up). Hold your bottles securely in each hand and stand them up, rasing them towards the centre nd bending the fabric as you go. Give them a little shake to ensure they are resting at the bottom of your fabric bend and the package can stand.
Step 5: Keeping both halves pushed together, lie down your parcel and tie the loose end with ribbon or string. You can secure with an elastic band first if required.
Share